The lines have fallen to me in pleasant places; Indeed, my heritage is beautiful to me. ~ Psalm 16:6 nasb
Showing posts with label basement. Show all posts

Tuesday, April 28, 2015

Basement Clean-Up

March 28.

Our basement ends up being a catch-all for things.  Is yours like that?  I don't go down there very often, even though that's where our TV/entertainment area is located.  Isn't it crazy how we just seem to accumulate stuff; I mean, where does it all come from?!  We don't have much income at this point, and we're not purchasing much besides food, so really--how do piles and piles of stuff just appear out of nowhere??  I'm flabbergasted.

Here's my before picture.  *insert embarrassed look here*


My goal was to separate in one place all the homeschool stuff I wanted to sell, because I signed up for a homeschool curriculum resale event.  Everything else needed to be put either "in a box" (I'll deal with it later) or in the donation box.  With that, I went to work.  I love all those empty blue Rubbermaid storage boxes--it means I've gotten rid of stuff!


It's amazing when you pick up everything how much floor space there is.  You can see all the boxes of homeschool stuff  on the left; those will hopefully all be gone in a couple weeks.  Yeah, the wires hanging everywhere are ugly, but it is what it is at this point, and as the guys move on with their lives much of that will disappear.  Give it a quick vacuum, and at least we can walk around down in this basement space.


Trust me, there is still lots to do down here in this unfinished space.  But there's something to say about clean floor space, don't you think?

 Stuff to go to Goodwill.


Back to life,
Christine

Visit my photography blog
Visit my photography website

Monday, April 28, 2014

His Castle - Hyper Organizing in the Bomb Shelter

A few days ago I posted about cleaning up the Bomb Shelter.  Today I'm going to share with you what I do when I'm in the mood to organize.  It's pretty much organizing for beauty.  I definitely love things to be organized, but when they're beautifully organized, it's something really special.  Let me show you.

After picking things up down here in the basement, I wanted things to be labeled.  It's so much easier to find things that way.  And although I've labeled buckets and such with permanent marker, it just wasn't that pretty.  Today was the day to prettify it.  :)

To create pretty labels, I used the same computer font and style that I did when I used Mod Podge to create labels to beautify my pantry.  I used a bigger size table box and font, because these were bigger buckets, and I wanted to be able to read them without having to get up close.


I used borders around each label so that I had a line on which to cut straight.


For these, I used simple packing tape.  I use scissors to cut off the edges made with the tape cutter--those jagged edges tend to stick out and get dirty, thus wrecking my pretty handiwork.  These labels were large enough that I used two rows of packing tape, covering first the top half of the label, then the bottom half.  They weren't perfectly taped, but close enough that I can't tell when looking at them.


Here are my finished buckets!  You can see the handwritten "pintos" on that one, though.  I think I forgot to print a label for that one!


Back to life,
Christine

Visit my photography blog
Visit my photography website

Saturday, April 26, 2014

His Castle - Cleaning the Bomb Shelter (Again)

Want to know what His Castle posts are?  Click here!

We call this section of our basement the Bomb Shelter.  Really.  And it gets messy pretty easily.  I don't often go down to the basement for anything.  One of the guys will carry up wheat berries for grinding, or a big bag of rice so I can refill the rice jar in my real pantry.  And on co-op delivery day, it's just so easy to tell the guys to "carry it all down to the Bomb Shelter for now..."  But, after a few co-op delivery days (and they're two months apart!), the Bomb Shelter looks like this:


There's a lot going on in the image above.  The true Bomb Shelter is really consists of just those large metal shelving units in the back on the right, plus all those five-gallon white buckets you can see in the lower right corner in the front.

Fernando's work cabinets are on the left, with a large cardboard box on top, and there's a table in the center, surrounded by chairs, that the guys will often use for games when friends are over.  You can tell, though, that that table hasn't been used in a while.  Time to clean up!


Most of this day's work consisted of just putting stuff away, either in their respective storage buckets, or organized on the shelves.  Below, you can see the red, blue, and green canning jar boxes stacked neatly in the middle.  Those are my empty jars, waiting to be filled with something new!


Below are those five-gallon buckets.  The two gray-rimmed buckets are much larger, and each holds about 150 pounds of wheat berries.  One bucket was red berries, and one was white, so I mixed them and have been using them up.  We haven't said goodbye to any of our guys yet, but as I bake less and less, I don't want to be storing massive amounts of dry goods.  I'm trying to be careful with the quantities I purchase, and am conscientiously using everything that I do purchase.


That's it!  Nice and clean, just in time for co-op delivery day.  I'll blog about that really soon, since I already took pictures!


Back to life,
Christine

Visit my photography blog
Visit my photography website

Tuesday, July 26, 2011

Project Basement -- The Big One (Part I)

Plans4You


I'm participating in Lori's Tuesday Project Party.
Click her link above to see what it's all about.
Get inspired!  Get working!
Simplify!!


I've spent a lot of time in my basement at various points over recent years.  I've organized our food storage area, and organized our homeschool supplies.  The project I'm sharing today has been, oh, just a little bigger.  Take a look.


Yeah.  Not fun.  With five guys and little ol' me in the house, things tend to just "get put" instead of getting put awayA place for everything... is my desire, but it tends to slip away when there are so many other things to do.

In the above photo, the cabinets along the left side of the above image are our homeschool supplies (foreground left) and our food storage area (background left).  However, as you can see, our food storage has expanded.  That table-looking thing toward the back is just that--a train table, to be more precise.  It has sat for several years, half-finished with an HO-scale model train track layout.  The gray wall comprises temporary cubicle walls you would find in an office building.  Fernando "rescued" the walls from his employer's dumpster, and they hide our furnace and "guts" of the house.  Fernando also has cabinets on the right of the image just beyond what you can see.  I have canning jars, bags and bags of bulk grains/etc., clothing, some toys...  Enough said.  The rest of the basement is more easily navigable, so this little 11x12 space is the focus of this major summer project.

I started with two large boxes of plastic food storage containers:  time to sort through those, with a pile to be sold, a pile to keep, and a pile for Goodwill/giveaway.  I cleaned off the small metal shelves (with the two canning pots on top--one went because I had three!!), and I organized the plastic food storage "keepers" on the bottom shelf.  Then I placed my empty canning jars in Starkist tuna boxes (love those boxes from Costco!) on the next two shelves.  One canning pot and our school microscope found locations on the top shelf, completing the space.


Buckets of bulk foods were moved in front of the de-cluttered/cleaned/organized shelves to make room to tackle the rest of the room, below (my "kind-of after" photo):


The photo above looks better than the "in-progress" photos you will see below--once everything gets pulled out, it is an even bigger mess.  Below is the progression of cleaning that we tackled.  We had to deal with clothing, trains, toys, metal two-shelf units, plastic storage boxes, and miscellaneous STUFF.


The guys tipped the train table on its side and wedged it between ceiling joists.  This is a temporary solution, as we hope to find a home for it, in someone else's home, of course!  Anyone love model trains?

The "sort-of-final" after photo for this portion of the work:


The guys also spent part of the previous weekend cleaning out the garage, and the result of these two major projects was a lot of stuff at the curb.  I'm happy to report that several items--a door and a window included--were picked up by scrap metal collectors.  The blue bins were overflowing with recycling, and there were 6-7 bags of garbage.  We did't feel too bad about the amount of garbage, since our family of six normally has just one small kitchen bag of garbage at the curb each week.


I am also working on cataloging every item pertaining to model trains, since we have a potential buyer and he wants to see EACH PIECE.  That's a "camera and staging" project I'm not looking forward to, but it has to be done.  Also, I have four large boxes of stuff to document with a typewritten chart and photos before taking them all over to Goodwill (across the street, fortunately!).  Then, some time soon, we'll be tackling the rest of the basement.

De-cluttering -- cleaning -- organizing -- simplifying.  I'm daunted by the work, but I feel the mental load of STUFF being slowly lifted.


Back to life,
Christine

Visit my photography blog
Visit my photography website

Tuesday, October 26, 2010

Tackle-It--Basement "Bomb Shelter"

Side note:  I'm still trying to figure out my new photography editing software; so far, I can say decisively that I do not like it.  It should not be so confusing to simply save a photo and upload it to my blog.  The only way I could figure out--at this point--was to publish them to Facebook (of all places), then import them to this blog.  If you see photos below, you'll know I was successful in at least that!  Except that now, these photos--which are not beautiful by any stretch of the imagination, but are meant solely for this blog--are on Facebook for my friends to see!  Sigh.  That may very well be my next project...

For now, I will focus on what I accomplished this past week.

Last week, I had canned some green tomato salsa, jalapeƱos, and pepperoncinis.  But when I brought the jars to our basement "bomb shelter," as we call it tongue-in-cheek, I saw that there was absolutely no room for them.  Empty jars were set haphazardly on shelves, certain items had two different resting places on the shelves, and my one-time organization had faded to general disorder.


Time for a project!  Our storage shelf system is really just one individual shelf system, and my husband assured me that the shelves were rated to hold several hundred pounds.  I think my food weighs more than that, as each shelf has gradually bowed under the weight.  Fernando bought and cut some pieces of wood to shore up the shelves, and with a little modification--thanks for the help, Danny--this new "system" seemed to work on one shelf.

Danny and I worked together to empty one entire shelf, and he carefully placed the pieces of wood under the shelf.


We then undertook the fun task of organizing all the food I had canned!  I had not realized just how many jars I had canned and collected in just a few years!


I also organized the jars in boxes and box lids to keep similar food together and contained.  I thought it would be a little easier to tell things apart.  Maybe I need to label the boxes...


The shelf is bowed up, but it will settle down with the weight
Well, at least one plain box is labeled!  Apples.  Yum.  Speaking of which, there are even more apples waiting for me to process them!

Back to life,
Christine

visit my photography blog!
captured by Christine Anne

Tuesday, September 28, 2010

Tackle-It: Science Supplies

To find out more about Tackle-It Tuesday,
and how each of us is cleaning, de-cluttering, and simplifying our lives,
click on Shani's button above.  And join us!!

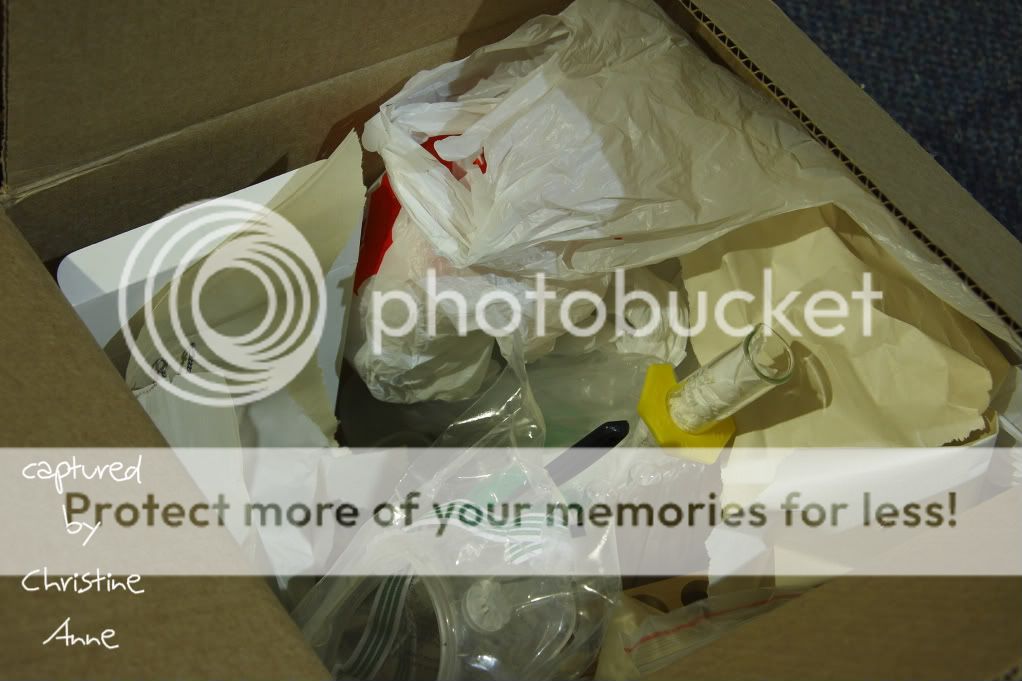
Box of science supplies
A few years ago, I loaned out this box of chemistry supplies; it was returned to me just a few weeks ago.   The box sat on the counter for a few days, then I moved it to the basement, on the floor in front of my homeschool cubby-hole cabinets.

Cubby-hole cabinets with box of science supplies

Thank the merciful Lord that I had already gotten my cubby-hole cabinets cleaned out and re-organized a few weeks ago!  I love these cabinets, which were originally literature cabinets that Fernando's company was throwing away in their dumpster.  Are you kidding me???  Each cabinet has 16 cubby-holes perfect for organizing things--especially homeschool things.  These cabinets are a prized possession, and have been put to incredible use for, oh, eight or ten years now.

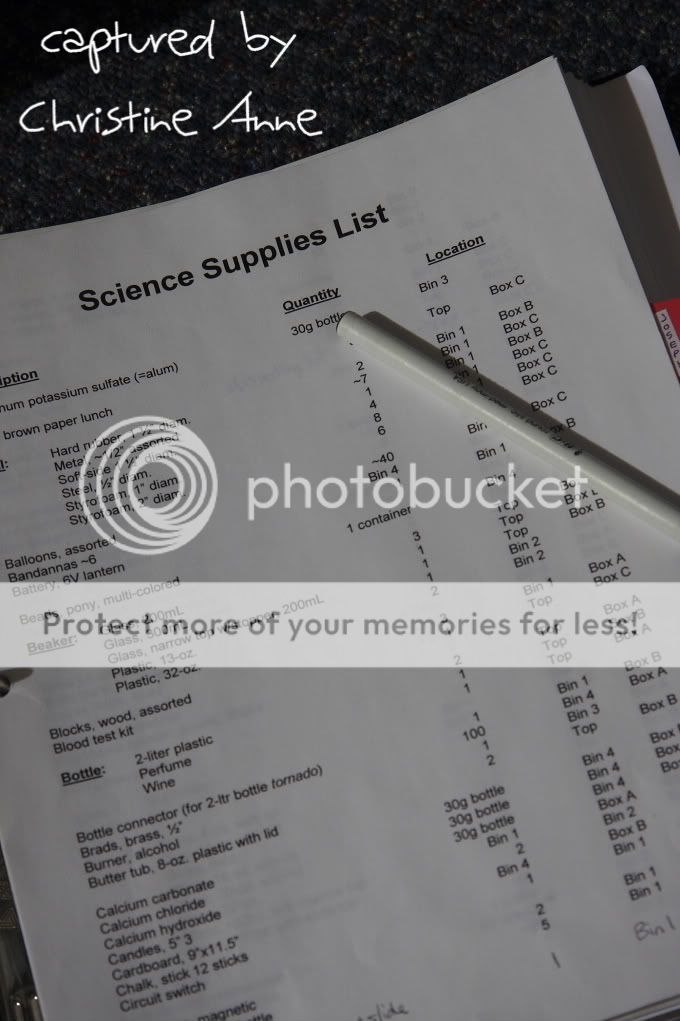
If you look at the cabinets like a Battleship game board, cubby-holes A5 through A8, plus B8, contain my science supplies.  The top of the right-hand cabinet also holds boxes with science supplies.  When I first organized this, I made an index of supplies, named each cubby-hole and each box, then found a spot for every item.  I labeled each cubby-hole:  Bin 1, Bin 2, and so on, and the boxes in each bin as Box A, Box B...you get the picture.  And that index exists today!

But, when I bought the chemistry supplies, and Jacob ended up dropping chemistry, the box of supplies never got cataloged or put away.  Shortly thereafter, a friend asked to borrow them, so the box made a trek to her house.  And now that Danny had embarked on the chemistry journey, necessity spurred me to finally get these supplies indexed and put away.

Science supplies needing a home

Though there weren't that many things to put away, it still took time.  A few of the items were duplicates of things I already had indexed, such as eye droppers and beakers, so those were easy to put away.  I cleaned out the two cardboard boxes of jars, vials, and beakers (sitting on the top of the cabinet), since there were more items than we would use at any one time.  Most of what I recycled were glass jars; several of them--16-oz. former jelly jars--made their way into my pantry for storage or freezing.

Index of supplies


I indexed all new items on my science supply list by adding them in with pen, then placed the items in their new homes.  My index is alphabetical, and shows:  (1) the item, (2) how many I have, and (3) where I can find that item.  For instance, if I need assorted wood blocks, I go to Bin 1, and pull out Box A, and I will find the blocks.  Simple!


A place for everything...


The funny thing is that my "after" picture above doesn't look all that different from the "before" picture; the box is missing, and that's it!  That means that everything got put away.  :)  (Not to mention the fact that my "before" picture is really the "after" picture of my previous clean-the-cabinets project!)

Science supplies :)


Above is a close-up of most of my science cubby-holes.  It's so simplifying to have these things in their places.  A place for everything, and everything in its place.  I would add more to this motto:  If it doesn't have a place, don't give it any space.

Back to life,
Christine

visit my photography blog!
captured by Christine Anne